Travel Photo Editing Ideas to Fix Busy and Distracting Backgrounds
Source: Pexels.
How to Remove a Background
A background remover lets you remove background from an image. It can also remove your bag or landmark.
Once it has removed what you don’t need, you’ll be left with a neat cutout. This can be placed into a new scene or kept as a transparent image.
Most tools use artificial intelligence to help them identify the edges. Sometimes hair, lace and thin straps can confuse the tool. However, they have improved massively recently.
Why It’s Useful for Travel Photos
Source: Unsplash.
Travel photos tend to never be perfect. People will walk through the photo, wires will fly across the sky, and a bin will sit right next to that cute café door. A cutout will hide all the mess in seconds!
They look great as graphics. If you’re making pins for Pinterest, blog headers or social media posts, having a clean image will really help. Having a simple background will help you stand out in a busy feed.
Product images also look great with a clean background. If you’re reviewing a packing cube or travel camera, having a plain white background will really help your readers know what they’re getting.
You can also have fun with it. Maybe you want a collage of your favorite places. However, it’s important to be honest with your readers when editing a photo.
How to Remove Background Easily
From free phone tricks to full editing suites, there's a tool for every skill level and budget. Here's how each one works.
Phone
Source: Unsplash.
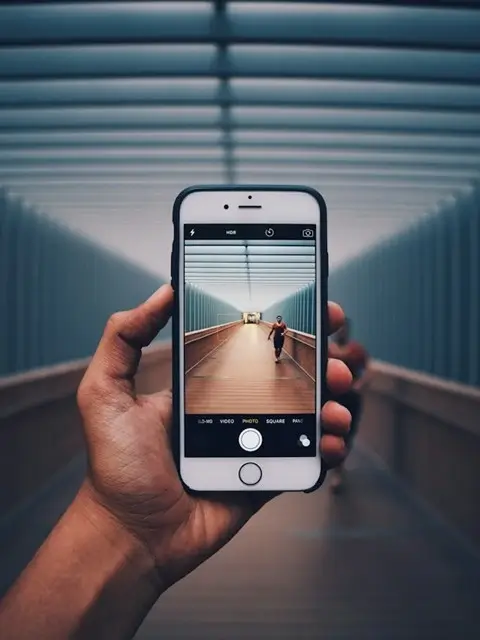
Many new phones allow you to cut out a subject from an image. On an iPhone, you can simply long-press on the subject, and it will remove it.
You can then copy and paste into another app. There are several Android phones that allow you to do the same within the gallery app.
Online Free
Many free websites such as Remove.bg are popular. All you need to do is upload your image, and it will remove the background in seconds.
However, many free plans will have a limit on the file size. Usually, you will have to pay a little extra for a high-quality image.
Canva
Source: Unsplash.
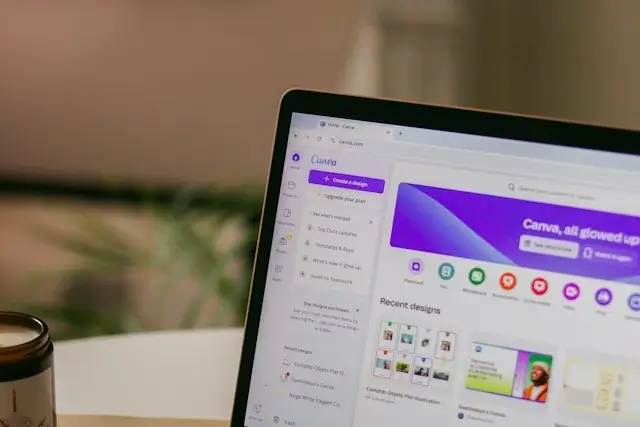
Canva also has a background removal feature. This is great if you want to create a graphic quickly.
Simply remove background and add some text or color. Usually, the background remover will be part of a paid plan, so double-check.
Photoshop / Other Editors
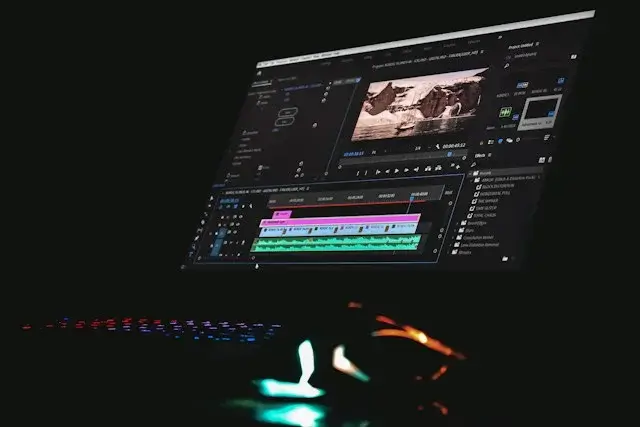
Photoshop allows you to have complete control over everything. It can take a while to learn but is great for tricky images.
Classic examples are hair and lace. If you’re an avid editor, you’ll probably love this. However, if you’re a casual editor, you can skip this.
Free
Source: Unsplash.
These are great if you just want to get your post up quickly. They’re free to use but may have some limitations. File sizes may be smaller, and you may have fewer downloads per month.
Paid
If you’re an avid editor, I would definitely recommend using a paid plan. You’ll get a higher-quality image and can upload in bulk. This means you can upload an entire trip in one go, saving you time.
How to Use
Most of the time you’ll want to select a sharp image. Something where you stand out from the background. Good lighting will help. Upload your image into your chosen tool. The tool will do all the work.
Once it has finished, you’ll want to zoom in. Most tools will have a small brush to let you fix any messy areas. Save your file as a PNG. This will keep the transparent background. JPGs won’t.
Source: Unsplash.
Top Tips
Keep it simple. Have a plain wall or open sky behind you.
High contrast between you and the background.
Sharp lines with no motion blur.
High-quality original image.
Check hair and straps manually.
Most of the work will be done when taking the image. If you have a good image it will save you a lot of work later.
Fun Ideas
Having a transparent image of yourself makes a lovely blog header. You can put it over a map or bright color. Readers will instantly know who the face behind the post is.
You could create a packing graphic. Cut out your shoes, camera and bag and place them on one clean page. Readers can easily have a quick look through the list.
Creating collages of your destinations. Cut yourself out from 3 images and place them on one map. This makes a great pin for your trip recap.
Source: Unsplash.
What to Avoid
Blurry edges. Having a white halo around your hair will look fake. You’ll want to zoom in and fix.
Lighting doesn’t match. Maybe the sun is shining on you from the left, but your new scene has the light coming from the right. Your brain will notice.
Try to match the lighting and colors. Additionally, avoid downloading low-quality images as social sites typically compress your images, so it will look even worse if you plan to upload it on Instagram or other platforms.
Copyright
Only edit images that you own or have a license for. Removing the background won’t change who owns the image. Stock sites often have restrictions on how you can edit and share images.
Be sure to check the license first.
Final Thoughts
Source: Pexels.
Busy travel photos don't have to stay that way. With the right tool, you can clean up a shot in minutes — no design skills required.
Start with your phone's built-in cutout, then move onto a larger tool if you need more control. Just remember to match your lighting and colors, and only edit images you own or have a licence for.
Now that you know how to remove background from photos, your images can look cleaner and your posts more professional.
So grab that photobombed sunset shot and give it a try. Your feed will thank you.
Disclaimer:
This post may contain affiliate links. I receive a small commission at no cost to you when you make a purchase using my link.